Evernote:Quick Retouching Trick For Slimming Protraits in Lightroom - Lightroom Killer Tips
Posted By Scott Kelby on Friday, February 26, 2016 in Develop, Featured | 9 comments
Hi Gang, and happy Friday. Here's a quick retouching trick on how to make people look slimmer. This is something we used to have to jump over to Photoshop for in the past, but Adobe added something into Lightroom in a while back that made the process quick and easy, and keeps us right inside Lightroom the whole time.

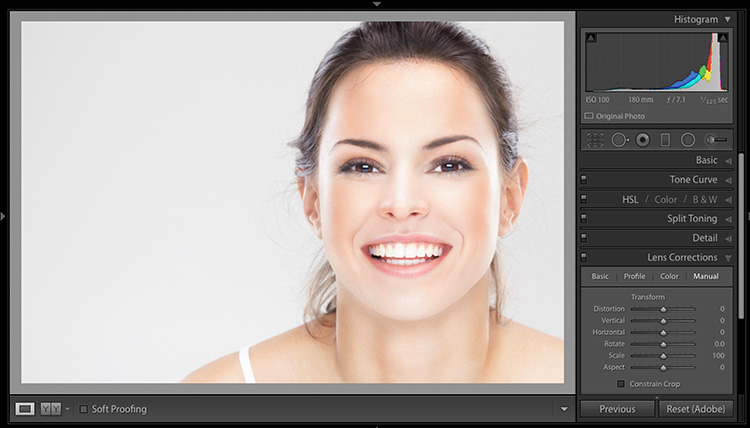
STEP ONE: Open the portrait you want to apply the slimming effect to, then click on the Lens Correction panel (the Lens Correction panel? Yes, the Lens Correction panel!), and click on the Manual Tab (the Manual Tab? Yes, the Manual Tab!).

STEP TWO: Go to the Aspect slider (the slider we use to flatten out our image or make it taller after we've done a major lens correction) and drag it to the right. As you drag to the right it compresses the image toward the center (like you're squeezing the image together from the sides) and that makes your subject look slimmer. You'll have to recrop to remove the white gaps at the left and right side, or just turn on the Constrain Crop checkbox at the bottom of the panel. The farther you drag to the right, the thinner your subject appears. Of course, if you drag too far, it's looks obviously retouched, so don't get carried away — less is usually more when it comes to retouching.

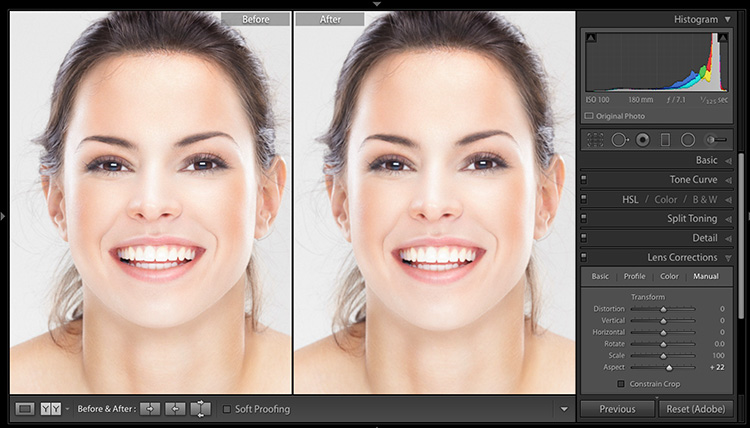
BEFORE/AFTER: here's a side-by-side so you can compare the took (look at the width of her face in the two shots above). Again, I didn't over-do it — the idea is to make your subject look 10 – 15-lbs. lighter, not 50-lbs. lighter.

ABOVE: You can see the difference a slight tweak makes. Again, the key is — less is more.
Hope you have a great weekend!
Best,
-Scott
P.S. Come see me in New York next Wednesday. I'll be teaching my "Lightroom Seven Point System" class live. Here's the link with details.
| Evernote helps you remember everything and get organized effortlessly. Download Evernote. |
